Monday, May 2, 2011

Graphic 45 Once upon a Springtime Mini

Wow!  It's May already!  Where has the beginning of this year gone?  As you can probably guess (from my lack of blogging) April was a busy month for me.  My girls had early school holidays and I squeezed in a quick week in McLaren Vale just outside of Adelaide.  Will share some pics of the beautiful scenery in another post.  I also got to catch up with Jane Trengenza of Seriously Scrapbooking.  Some of you may know her from her amazing work she creates for the Graphic 45 Design Team.  Last year Jane also started her own laser cut chipboard company called Imaginarium Designs, and boy, are these products just beautiful to work with.  I will show case some of her products in some projects I have been working on  in a later post.  I just need to put some finishing touches on them.  I will be putting her blinking on my blog so you can visit her store and purchase these amazing products.

Now onto today's post.  A little while ago I made this cute little mini for my sister who is expecting her first little bundle of joy.  This little baby is quite special as Sarah and her husband were informed that they may not be able to have a baby.  But thanks to their determination and the wonderful world of IVF their little baby is due in early July.

This mini is intended for Sarah to scrap her pregnancy journey to have as a keep sake to treasure.  As we  don't know what the sex of the baby is, I thought the Graphic 45 Springtime collection was just perfect.  This album was a quick make  using  a variety of embellies.  The title "Cherish" is  an Imaginarium Designs chippie.  Some items used were Tim Holtz on the edge die and stylised labels die, I am roses flowers,  petals and skeleton leaves, embossing folders, Martha Stewart punches, Spellbinders and I used the Bind-it-all to pull it all together.


Well thanks for stopping by.  Hope to see you back soon

Ciao xx

Saturday, April 2, 2011

Graphic 45 Perfect Gentleman Mini Albums Part 2

Boy time flies.  I feel like I am constantly saying on Friday's "where did my week go???"  I cannot believe we are in April already!  How scary is that?!

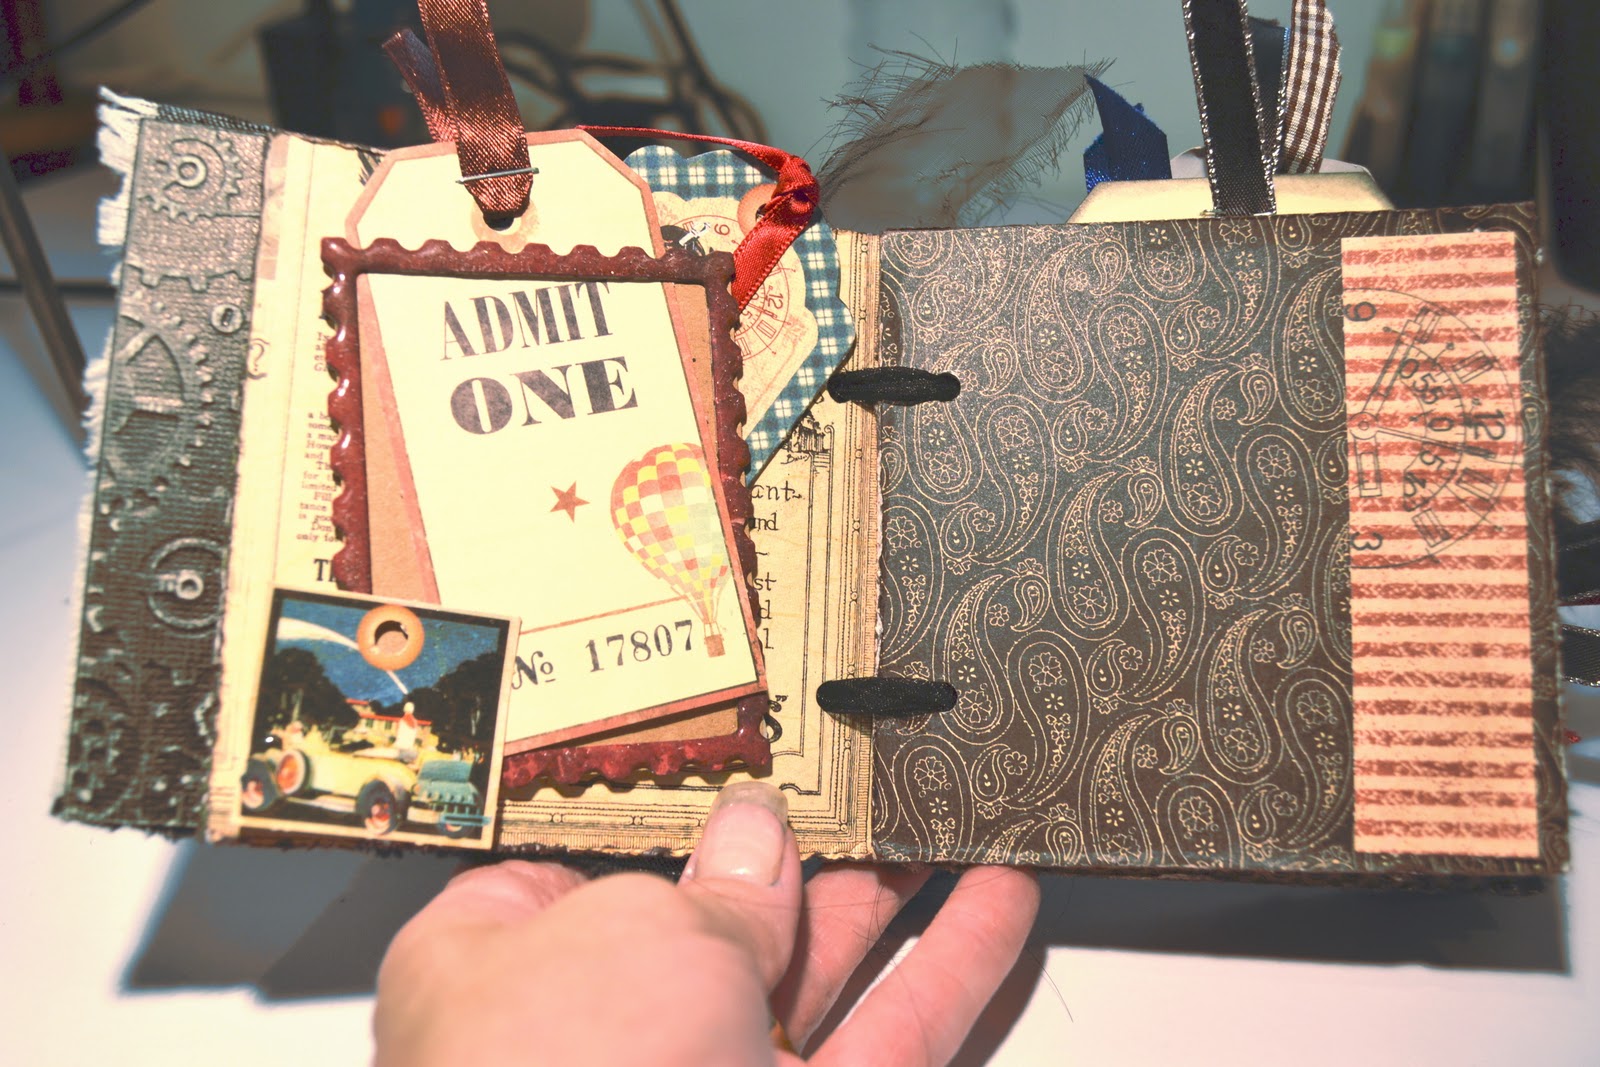
Well here are the other two Mini books that I  said I would post.  This one is actually a 4" x 4" mini and each the back of each page includes some form of pocket to house your journalling tags.


And the final one is a desk calendar.  I haven't included a pic of each month as I have left it quite plain so that you can place photographs on each page (and of course mine has no pics yet).


Well hope you all enjoy your weekend and until next time ciao for now xx

Thursday, March 24, 2011

Graphic 45 Perfect Gentleman Mini Albums

Hi everyone.  Guess my pact of trying to post once a week fell by the wayside.  I have just been a little busy renovating my girls bedrooms (something a little more grown up as they are now 12 and 13).  I just seem to run out of hours in my day!!!!  School holidays are upon us and hopefully things will sloooow down.  Just a little anyway.

Anyhooo, I shall stop boring you all and get on with today's post.  Earlier last year I taught a bunch of wonderful ladies a Mini album series using the Graphic 45 Perfect Gentlemen 8 x 8 paper pad.  The whole idea was to show them just how many things they could get from that one single pad.  Well did we have some fun or what and they all loved the end results.  We actually had quite a bit of paper left over and I have used my remaining stash to make some cards.

All up we got 3 mini albums (these were quite detailed) and a lovely flip Calendar for the desk top.  I have no photographs in mine as I generally do this after I have taught the classes but here are some pics for you all.

This is album number one which we used the bind-it-all to put it all together.


This is album number two.  For this one I created pocket pages using just black card stock.  I stuck all the pages together then stuck the inside pages to a cover with a spine.  This book has loads of hidden pockets everywhere to put photographs or bits and bobs.


I will post the other albums next week so stay tuned.

Ciao for now. x

Thursday, March 10, 2011

I'm Baaaack

I'm Back!  Yes I have been Mia for a very looooong time I know.  I have just been way too busy to take time to write a blog on a regular basis.  I am sure you all understand how life gets from time to time.  During my absence I have become Copic certified so you will start to see some projects using these wonderful markers (they go well with my love of stamping).


I have also made quite a few mini albums (another one of my favs) so will post about some of them as well so stay tuned.  There may also be a few cricut projects thrown in the  mix as well.


At this stage I am unsure as to how often I will be posting but I will try to do at least one post a week to start with.  So stay tuned and peek back in the next few days for my next post.


Ciao xx

Thursday, May 13, 2010

Masculine Flip Cards


Hi people.  Hope all you ladies out there had a lovely mothers day celebrating with your children and/or your wonderful mums.  I know I had a lovely day cos I got spoilt!  Now that Mother's day is over I guess we can all start to think about less feminine cards. 

So for today's post I have made two masculine flip cards for those men in our lives.  When you open the card the middle flap actually flips over and reveals your sentiment.  Quite clever really.

To make this card I have used the gorgeous Graphic 45 Punch outs, Darkroom door background stamp, bottle tops (squashed in the cuttlebug) and some twine.  I have just finished off the cards with some inks and voila!  Very simple!


and then flipped open to reveal inside sentiment...


Thanks for stopping by.  Hope to see you back here soon. xx

Tuesday, May 4, 2010

Sunset and midnight sky cards

Hi again.  Though that I may as well do a couple of posts today while I am on a role (it's bucketing down with rain so, hey, what else can I do?).

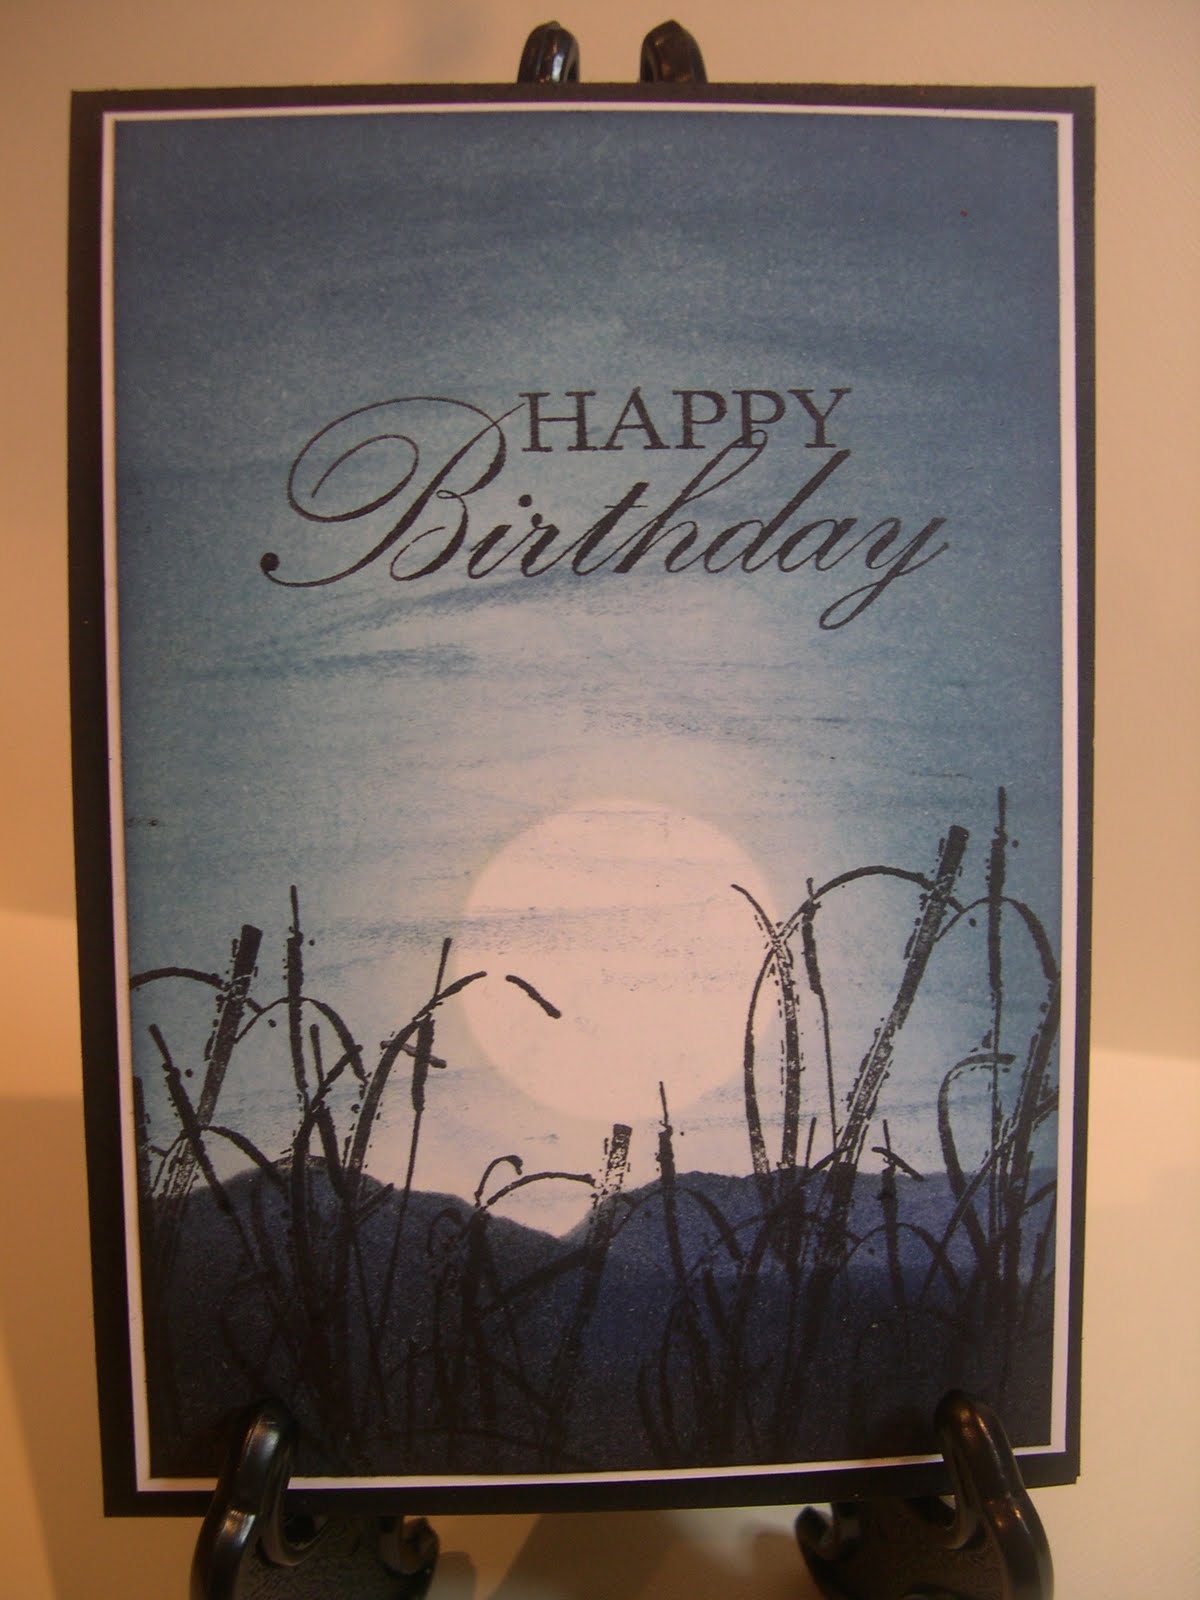
With these cards I punched out a circle big enough to act as a mask for the sun and the moon.  I also tore a piece of card long enough to go the width of both cards.  The inks used for both the cards are Tim Holtz Distress inks (my faves) and they have just been applied with a blending applicator tool.  A sponge would also suffice if you didn't have the blender tool.

For the sunset card I used Mustard Seed,  Dried Marigold, Spiced Marmalade, Rusty Hinge and barn door for the sky.  I then used walnut stain and black soot for the hills.  I then stamped the flowers and reeves with Black Soot and the verse was stamped with Black Staz On.

For the midnight sky card I used rumbled glass, broken china, stormy sky and shipped sapphire.  For the hills I used shipped sapphire and black soot.  Once again reeves are stamped with Black soot and sentiment stamped with black Staz On.  All stamps are from Kaszazz.


Very simple, yet soooo effective!  Enjoy. xx

Gift Card Holders

Hi everyone.  Sorry I haven't posted for a while.  It is all due to being extremely busy, plus trying to finish our renovation.  Time seems to just zip by.  Cannot believe we are almost at the end of the financial year ALREADY!!!!!  I came to this realisation the other day when trying to finalise my workshop projects for "Christmas in July". Yes this is also just around the corner.  I will post the details of this workshop when it gets a little closer for those who are interested.


Now onto today's post. .....


It seems to become harder with each passing year to come up with great gift ideas so decided to have a workshop for a gift card holder.  I have made one for a male recipient and one for a female.  I have used the new Tim Holtz dies for these (which I just luuurrrve to bits).  The dimensions are a piece of card measuring 4 in x 12 in then scored at 4 in, 6 in and 8 in.  You then fold into a W with the short flap in the inside of the card.  On the fold of the little flap on the inside, using your craft knife you place a slit long enough to fit your gift card into.  Then you can stick the little flap together on the other side making sure to use thin tape so that your gift card slips into the slot nicely.  You can decorate according to the occasion.

Front cover

Inside

Front cover

Inside

Well I hope you have fun trying this one.  Until next time, happy scrappin'.  xx